Embarking on the unforgiving sands of Arrakis, I quickly realized that mastering a single discipline in Dune: Awakening would not be enough for survival. While my initial class choice provided a foundation, the true potential of my character lay in unlocking skills from other paths. For any player like myself, yearning to become a master of the blade, the journey begins with finding the elusive Swordmaster trainer. Why would anyone limit themselves to one fighting style when the secrets of the Swordmaster await? This guide details my own quest to find Arno and earn the right to learn from him, a journey that proved to be one of the more demanding early-game treks.
The Search for Arno, the Swordmaster Trainer
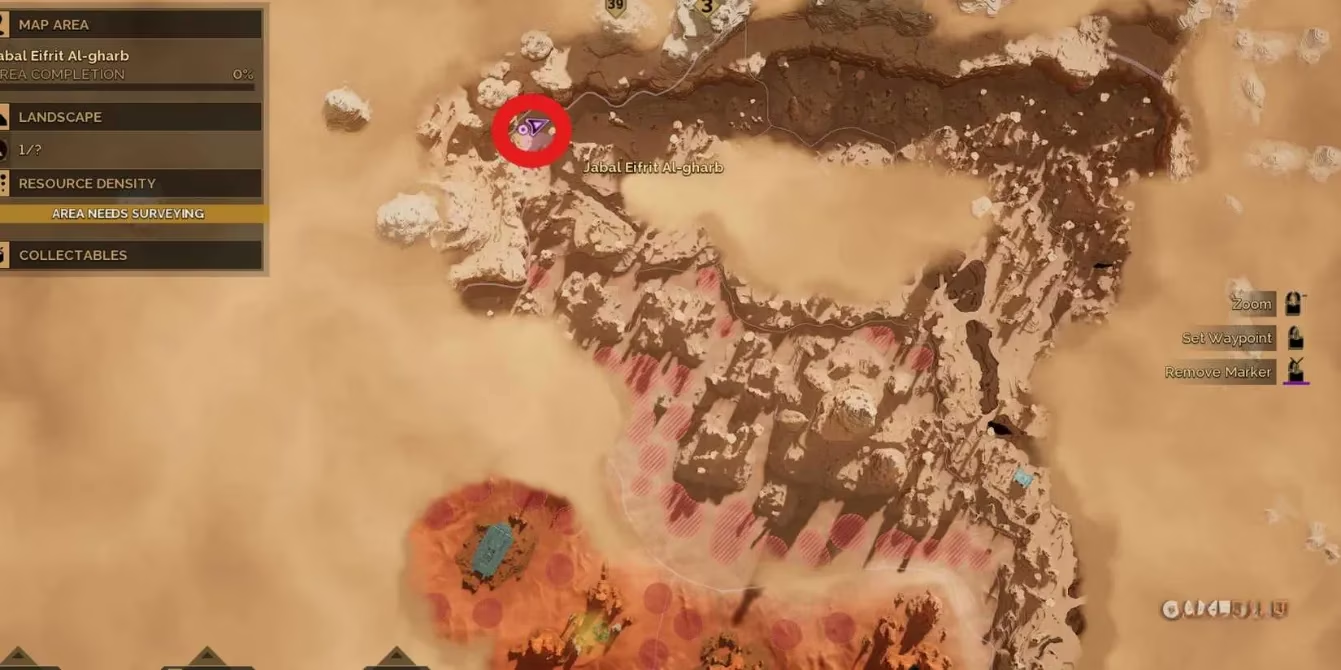
Unlike other trainers who may be found in more populated or accessible areas, the Swordmaster trainer requires a dedicated pilgrimage. My first and most crucial piece of advice: do not attempt this without a Sandbike. The trainer, a man named Arno, resides at the remote Pinnacle Station, located in the far northwest corner of the Jabal Eifrit Al-gharb region, southeast of the Eastern Shieldwall. It's a long, lonely ride across the dunes. Upon arrival, you'll find Arno, a figure who clearly embodies the discipline he teaches.
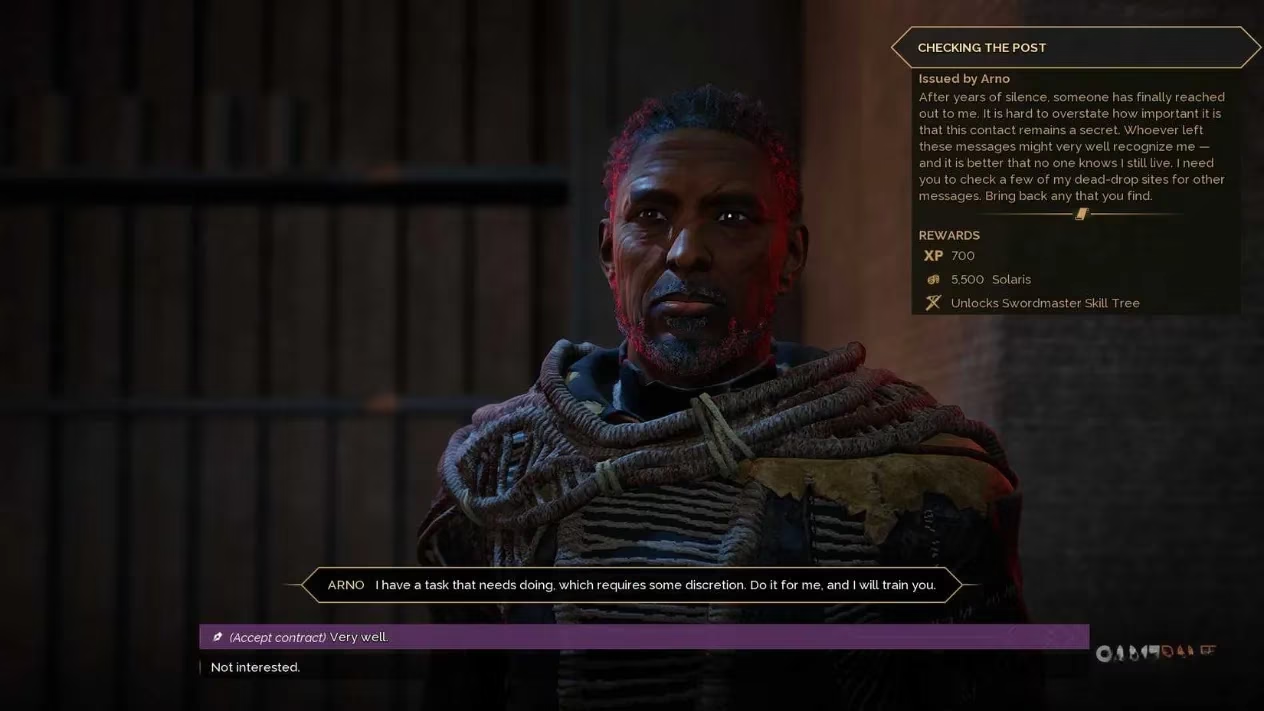
Arno is not one to give away his knowledge freely. Speaking to him and asking for training initiates the contract 'Swordmaster: Basics: Checking The Post'. This is your key to unlocking the entire Swordmaster skill tree. The contract itself is a multi-stage journey across Arrakis, rewarding you with 700 XP and 5,500 Solari upon completion—a nice bonus to spend at the Pinnacle Station's own tradepost. The objectives must be completed sequentially, as each one reveals the map marker for the next. Here is the order of operations:
-
Find the Devil's Eye Cavern.
-
Search the Wreck of the Pallas.
-
Search Imperial Testing Station No.76.
-
Return to Arno at the Pinnacle Station.
Objective 1: The Devil's Eye Cavern
This first task is the simplest, serving as a gentle introduction to the contract. After a long drive east from Pinnacle Station, simply follow your map marker to the cavern entrance. You'll only face a single enemy outside. Inside, the objective is straightforward: locate a distinctive white box and interact with it. No complex puzzles or major fights here—it's all about the journey.
Objective 2: The Wreck of the Pallas (A PvP Zone)
With the first task done, your map will update to point you towards the Wreck of the Pallas, northwest of The Anomaly. This is where things get serious. Not only must you traverse open, dangerous sands, but this location is also a designated PvP area. My heart was pounding as I approached. A word of caution: travel light. Don't carry excess resources you can't afford to lose, just in case you encounter hostile players. Thankfully, during my visit, the other explorers were preoccupied with their own looting.
The NPCs around the crashed ship are sparse and easy to avoid. You can enter through various points:
-
The sides of the hull 🚢
-
The broken stern
-
Holes torn in the roof
The goal is to reach the ship's bridge at the front. To get there, you must find a green Identification Band. I found mine on a platform while looking West-Northwest inside the wreck. The door leading forward is sealed, requiring a Cutterray to slice through. Once inside the new section, look for a green glow—that's your key. With the band equipped, you can pass through the green force-field doors.
The ship is full of loot, but your primary target is a large black box pressed against the farthest wall. Interact with it to complete this tense and rewarding objective.
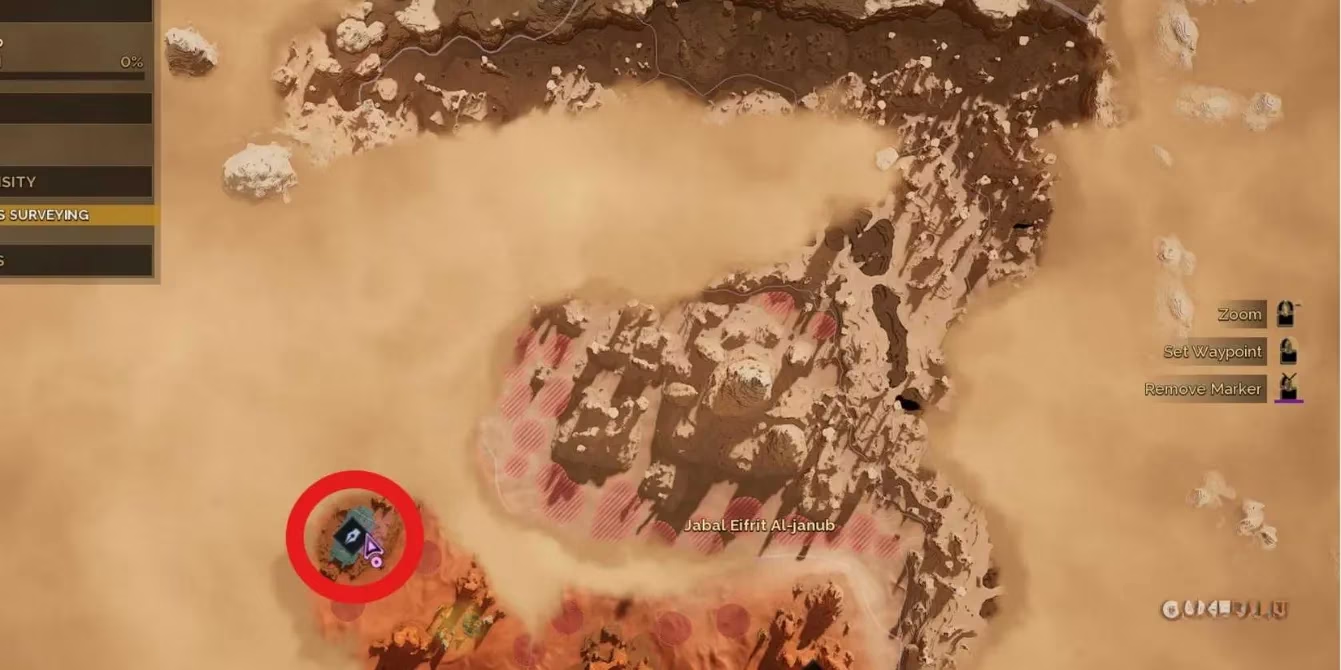
Objective 3: Imperial Testing Station No.76
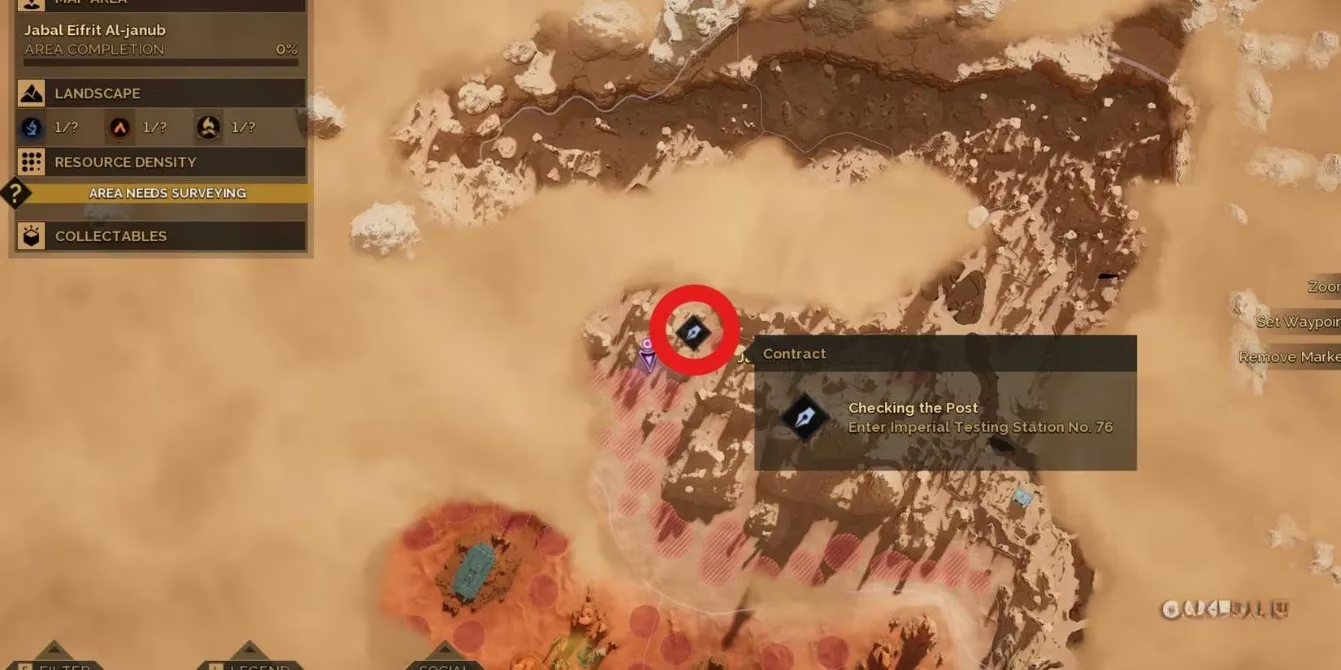
The final leg of the contract takes you to Imperial Testing Station No.76. This is a combat-heavy dungeon. A few enemies patrol the exterior, but the real challenge lies within. The station is filled with tough NPCs, many of whom possess energy shields that require sustained fire to break. Be prepared for a fight!
The layout is fairly linear, preventing you from getting too lost. As you fight your way through, keep an eye out for valuable loot and several water dispensers—a lifesaver in the deep desert. After defeating the final group of enemies, search the main chamber. You're looking for an upper office, accessible by a ramp, that is overgrown with weeds.
Inside this office, interact with a machine to loot the Coded Message, the quest item you need to bring back to Arno. 🗂️ Pro-Tip: Before you leave, don't miss the secret door in this room! It's hinted at by a yellow book on a bookcase. Opening it reveals hidden treasures worth the extra moment of exploration.
The Reward: Unlocking the Swordmaster
With the Coded Message in hand, the long journey back to Pinnacle Station begins. Returning to Arno and delivering the item is the final step. The moment you hand it over, your perseverance pays off: the Swordmaster Skill Tree is unlocked! 🎉
This entire contract is more than a simple fetch quest; it's a rite of passage. It tests your navigation, your combat readiness, your risk assessment in PvP zones, and your resolve. The skills you unlock—focused on melee prowess, blade techniques, and deadly precision—are powerful tools that can fundamentally change how you engage with the world of Dune: Awakening. Was the trek worth it? For any player looking to diversify their combat abilities and stand toe-to-toe with the fiercest threats on Arrakis, the answer is a resounding yes. The way of the Swordmaster is now open to you.