Let me tell you, the sands of Arrakis in Dune: Awakening are as beautiful as they are deadly. I learned this the hard way. One moment, I was admiring the vast, shimmering horizon, and the next, I was scrambling for my life as the ground trembled beneath me. The sandworms, those magnificent terrors, don't give you much time to react. That's why, if you want to survive and thrive out there, you need a sandbike. It's not just a vehicle; it's your lifeline, your ticket to freedom across the endless dunes. In this guide, I'll walk you through everything I've learned about getting your hands on one, from the initial quest to that first exhilarating ride.
How To Get A Sandbike: The Journey Begins
You won't be zipping across the desert right from the start. The game guides you through a natural progression. While it's technically possible to go rogue and scavenge the parts early, the most straightforward path is through the introductory mission chain. The key quest is 'Across The Gap,' which is part of the larger 'A New Beginning' storyline. This multi-stage task picks up right after you complete 'The Wreck Of The Alcyon.' Think of it as your formal introduction to vehicular survival on Arrakis.
Finding Imperial Testing Station No. 2
Your first major objective in this quest will lead you to a place called Imperial Testing Station No. 2. Pinpointing this location is crucial. From my experience, it's nestled just to the west of the Griffin's Reach Trading Outpost and to the east of the Alcyon Wreck site. It's practically sandwiched between these two landmarks.

This isn't a simple surface run. The quest sends you deep underground into an abandoned Imperial facility. A word of caution: something has clearly gone very wrong here. Stay alert. As you explore the dimly lit corridors and chambers, be meticulous about searching containers. They are scattered throughout the complex and often contain more materials than you strictly need for the quest objectives. Loot everything! These components will form the foundation of your future sandbike.
Gathering Materials and Returning to Base
After you've braved the testing station and gathered the necessary schematics and parts, it's time to head back to the safety of your base. Here, you'll need to use your Fabricator. This is where the real construction begins. To assemble the core parts of the sandbike, you'll need to fabricate the following key components:
-
A Power Supply Unit (PSU)
-
Three Treads (for that all-important traction on sand)
-
An Engine (the heart of your bike)
-
A Chassis (the structural frame)
-
A Hull (the outer body)
Now, here's the resource-intensive part: fabricating all these pieces requires a significant amount of copper. In total, you'll need 37 Copper Ingots. So, all that mining you've been doing? It's about to pay off.
Building a Small Chemical Refinery for Fuel
A common mistake I almost made was thinking the bike itself was enough. It's not! A sandbike without fuel is just a very cool-looking sculpture. Before you can ride, you must produce fuel for your new vehicle.
First, ensure you have researched the Small Chemical Refinery in your knowledge tree. Once that's done, you need to build one at your base (or find a cooperative player who will let you use theirs). Constructing the refinery itself is another investment, costing an additional 17 Copper Ingots.
With the refinery operational, interact with it to craft a Vehicle Fuel Cell. You can choose between a small or medium cell—I'd recommend crafting a couple to save yourself a trip later. Without this step, your assembly efforts are all for nothing.
The Final Assembly: Putting It All Together
This is the moment of truth! To physically assemble your sandbike, you first need a Welding Torch. Fabricate one at your base; it requires 6 Copper Ingots. Now, choose your assembly site wisely. Find a flat area with easy access to the open dunes. You don't want to build it in a cramped canyon only to find you can't drive it out!
The assembly process is done piece by piece. Open the build menu, and you'll see options for every sandbike part you're carrying. If you've been lucky and have multiple versions of a part (like two different Engines), the game will let you choose which one to install. Always select the component in the best condition for optimal performance. Follow the prompts to weld each part—the Chassis, Hull, Engine, Treads, and PSU—into place.
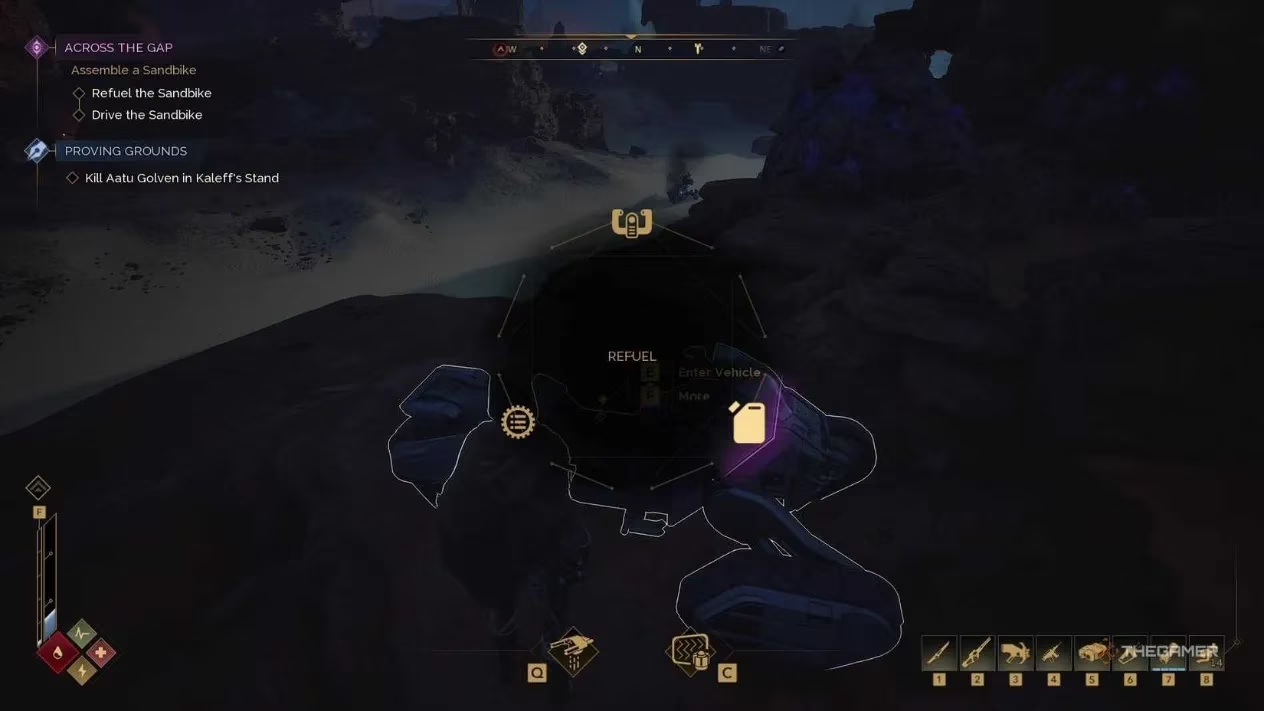
How To Refuel and Ride Your Sandbike
Once the last weld cools, your sandbike stands ready... almost. Remember that fuel cell you made? Now's the time to use it. Walk up to your magnificent new machine and hold the interact button. An interaction wheel will pop up. Select the 'Refuel' option. If you have a fuel cell in your inventory, the game should automatically use it.
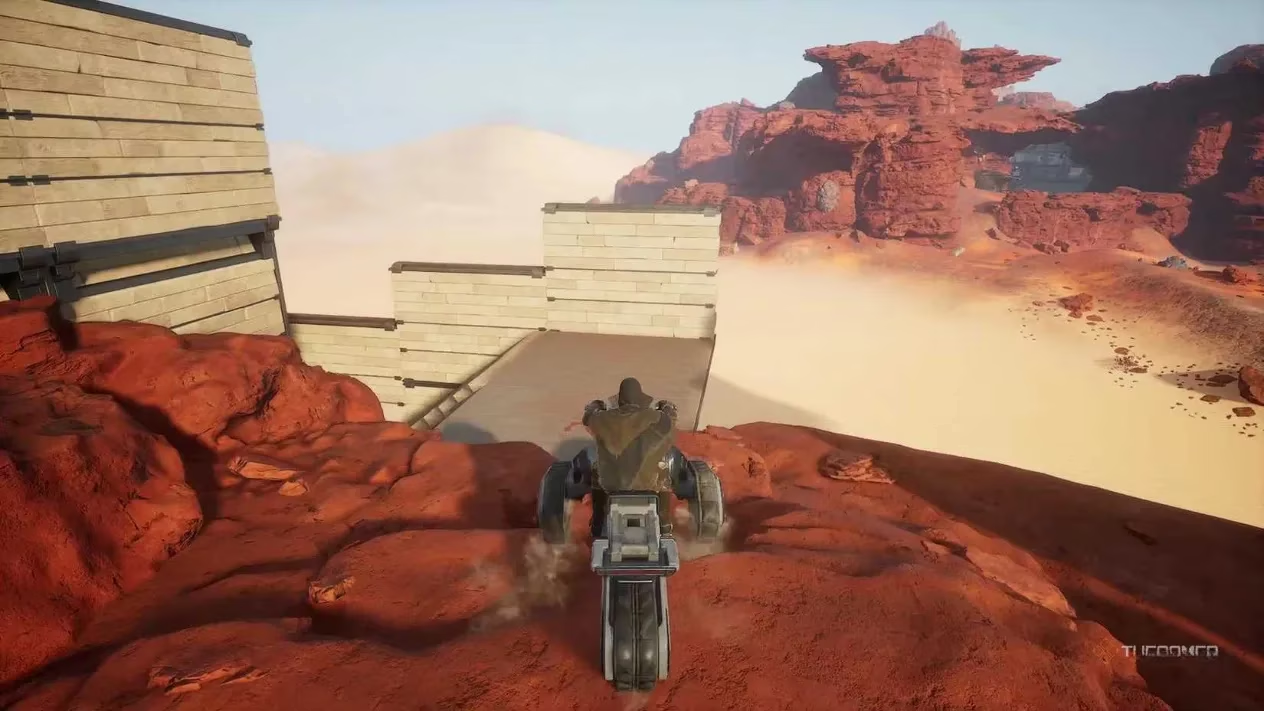
And that's it! From here, your sandbike should be fully operational. Climb on, start the engine, and feel the power as you leave a plume of dust in your wake. The terrifying rumble of a sandworm becomes a manageable threat when you have the speed to outrun it. Trust me, the first time you effortlessly glide over a dune that would have taken minutes to climb on foot, you'll know every bit of that copper mining was worth it. Safe travels on the sands!