Players venturing into the vast deserts of Arrakis in Dune: Awakening will quickly realize that trials aren't just optional distractions—they are the gateways to unlocking the game's deeper story and survival mechanics. After conquering the very first trial in the Hagga Basin, many survivors find themselves wondering where to go next. The answer lies in the Eastern Vermillius Gap, a harsh region that pushes you to truly test your sand-skills. The Second Trial of Aql might sound intimidating, but it’s actually a refreshingly straightforward experience that introduces one of the most important tools in the game: the Compactor.
Finding the Eastern Vermillius Gap
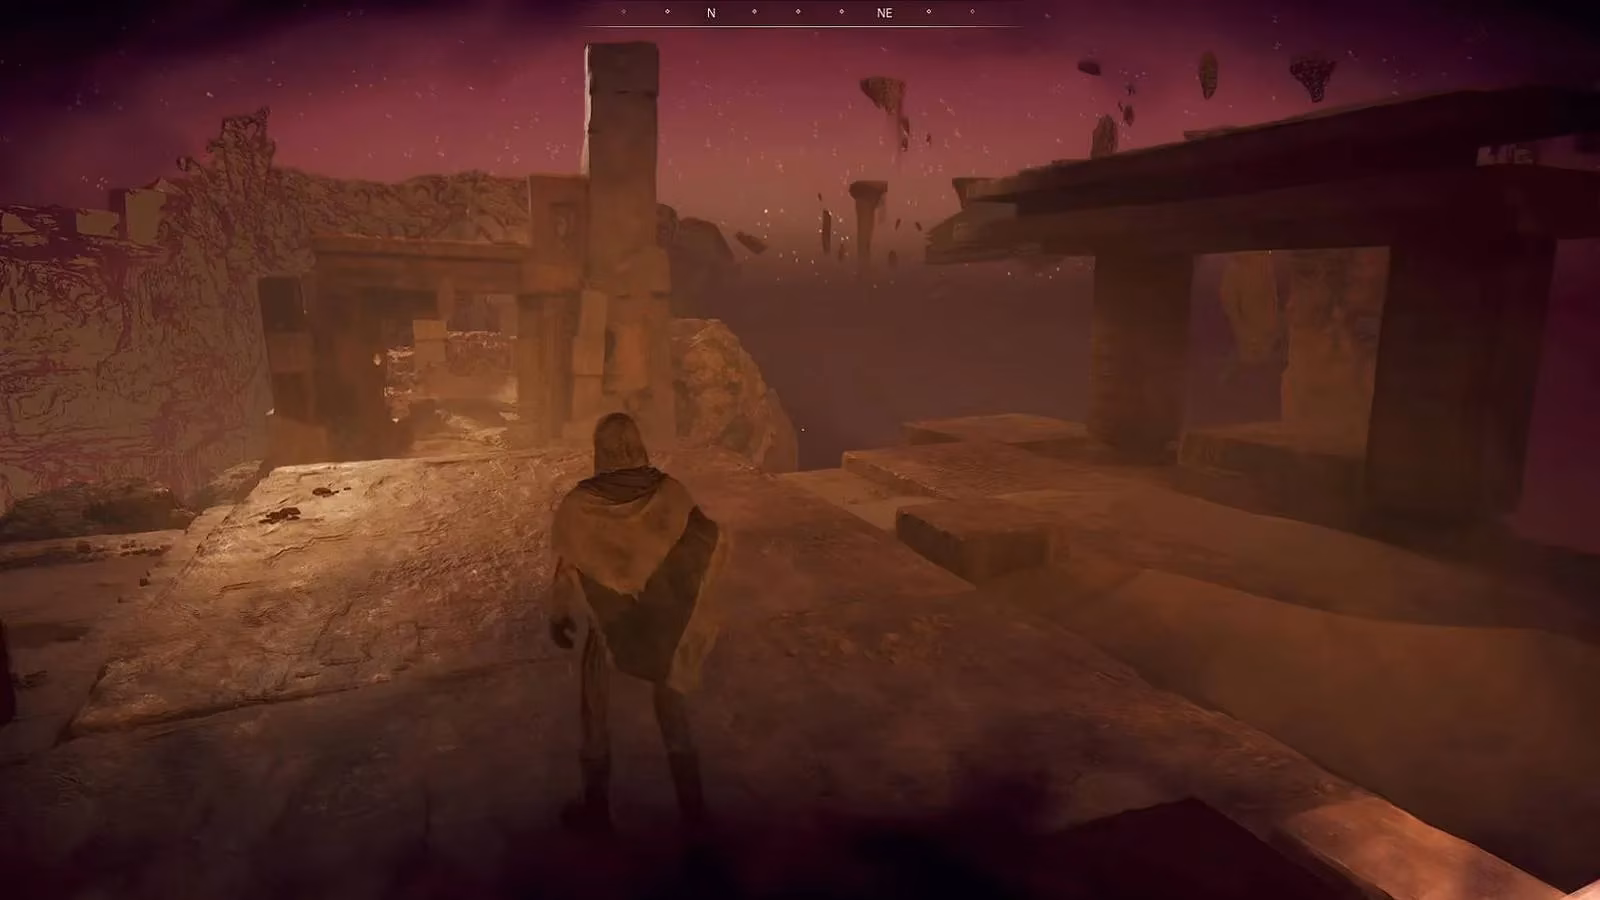
The Second Trial of Aql doesn’t pop up on your map with a big, glowing marker from miles away. Instead, you’ll need to do a little legwork—or rather, sand-walk. From the starting Hagga Basin, the most reliable route is to cross the open desert heading east. You’re looking for the easiest crossing point out of the basin, which usually means avoiding the deepest sandworm territory and sticking to rocky ridges whenever possible. Once you’re in the Eastern Vermillius Gap, keep your eyes peeled for a point of interest called the Deep Struggle. This isn’t a random label; it’s a water-sealed cave tucked just north of the Southeast Ironworks. The trial icon only appears on your compass and map when you’re practically standing in front of the entrance, so don’t be surprised if you almost miss it.
When you arrive, you’ll notice the cave is guarded by a handful of bandits. These aren’t world-boss level threats, but they can still ruin your day if you charge in without a plan. A ranged weapon or a quick use of your shield can make short work of them. Clear them out, and the trial itself is yours to activate.
Inside the Deep Struggle: A Compactor Playground
If the first trial felt like a brain teaser that required deciphering old Fremen clues, the second trial is a breath of fresh, albeit sandy, air. There’s no complex puzzle to solve here. Instead, the whole experience revolves around the Compactor, a gadget you’ll pick up as soon as you begin. This multi-use tool is all about manipulating the environment. You shoot it at regular sand, at suspended floating sand, and at various mechanical traps blocking your path. The idea is simple: create platforms, clear obstacles, and move forward.
The trial area is essentially a linear cave system, with different chambers that require you to use the Compactor in slightly different ways. In one room, you might need to collapse a pile of loosened sand to form a makeshift ramp. In another, you’ll fire at floating dust clouds to reveal hidden ledges. There are even a few pressure-plate-like traps that you can safely trigger by shooting sand at them from a distance. It’s all very tactile—the game wants you to get comfortable with the Compactor because you’ll be relying on it heavily out in the open world.
Why the Compactor Matters So Much
For anyone who hasn’t spent much time gathering resources yet, the Compactor is the only way to harvest Flour Sand, a rare and vital material used in high-tier crafting. During the trial, you’re not actually collecting Flour Sand, but you are learning the exact mechanics that make harvesting possible. Once you’re back in the desert, you’ll need to seek out special sand deposits, use the Compactor to blast them, and then collect the precious resource before it dissipates. Mastering this rhythm inside the safe(ish) walls of the Deep Struggle is much better than fumbling with the tool while a sandworm is circling beneath your feet.
A few practical tips for the trial itself:
-
🧭 Aim carefully – the Compactor’s projectiles don’t have infinite range. Get close enough to your target, but not so close that a trap can catch you.
-
⏳ Watch the cooldown – you can’t spam the Compactor endlessly. Each shot uses a bit of energy, so take a beat between uses.
-
🚶 Don’t rush – the cave isn’t huge, but there are a couple of sections with slightly hidden floating sand that you need to shoot to reveal the path forward. Look up; the ceilings often hold the answer.
How It Compares to the First Trial
Players who struggled with the first trial in the Hagga Basin will find this one much more forgiving. The first trial was genuinely puzzle-heavy, demanding players interpret ancient markings and align reflectors with light beams. The Second Trial is more of a tutorial on an essential tool, disguised as a story beat. You can finish it in under ten minutes once you’ve dealt with the bandits outside. That doesn’t make it any less important, though. Skipping trials means skipping progression, as many story missions and faction unlocks are gated behind completing these ancient rites.
What Comes Next
After finishing the Second Trial of Aql, the story naturally pushes you further east, deeper into the Vermillius Gap or possibly toward new zones that open up as you prove your worth. You’ll walk away with more than just a feeling of accomplishment—the Compactor becomes a permanent addition to your toolkit, and you’ll have a much clearer sense of how to track down Flour Sand. So load up on water, keep an eye on the mini-map for any suspicious ripples in the sand, and remember: the desert teaches those who are willing to learn. The Second Trial is just one of many lessons Arrakis has in store.
At the end of the day, the Second Trial of Aql is a well-designed pit stop that respects your time while teaching you something genuinely useful. Whether you’re a die-hard completionist or just trying to get your spice-harvesting operation off the ground, this trial is worth the trek. And who knows? The cave might still hold a few secrets for explorers who poke around after the trial is officially complete.